 Inkhaus
Your smart home on paper.
Inkhaus turns an M5Paper e-ink screen into a small remote for Home Assistant. Lights, blinds, heating and sensors on one calm screen that uses very little power.
Download the installerSee on GitHub
What it is
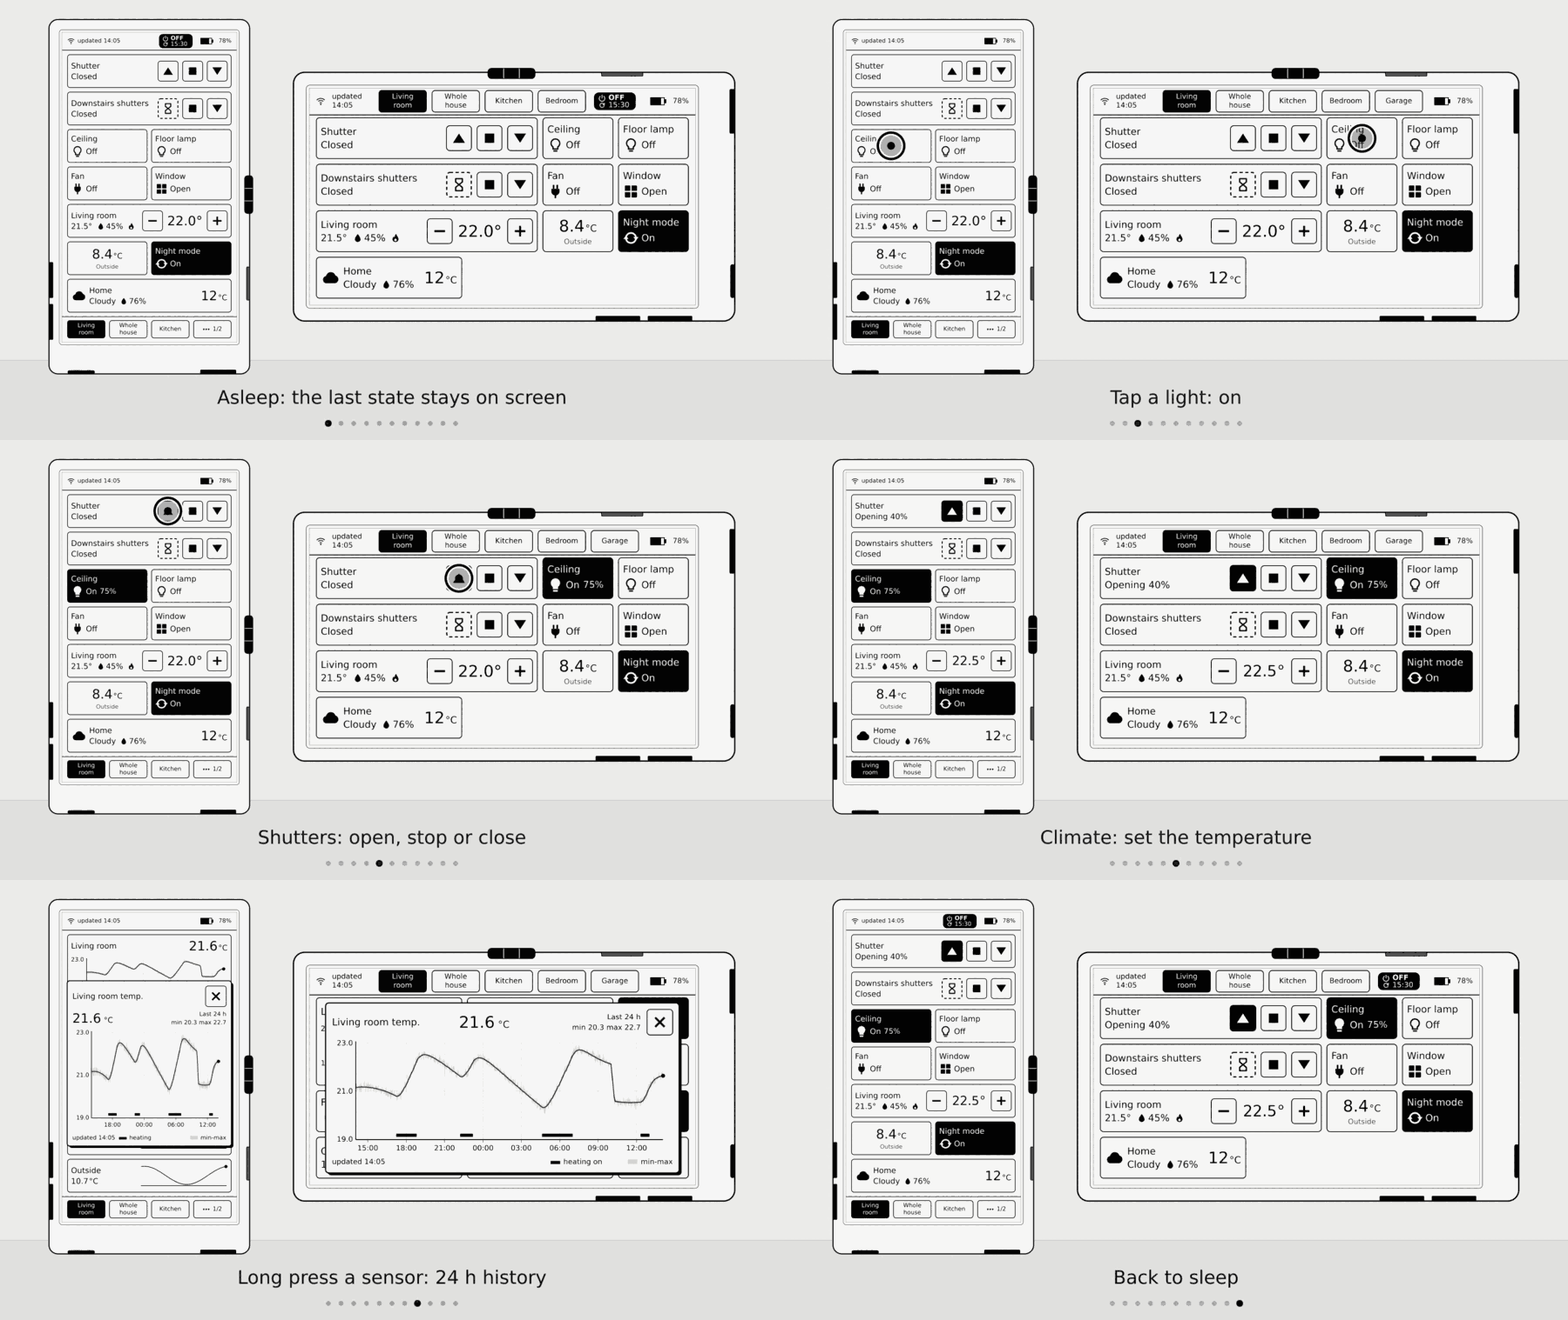
- Tap to switchTouch the screen to switch things. The side rocker button works too.
- Always readableE-ink works in sunlight, has no backlight glare, and the screen stays when the device sleeps.
- Days on a chargeIt sleeps between touches. Power off mode lasts even longer, and you choose how much battery to trade for convenience.
Features
See how things changed
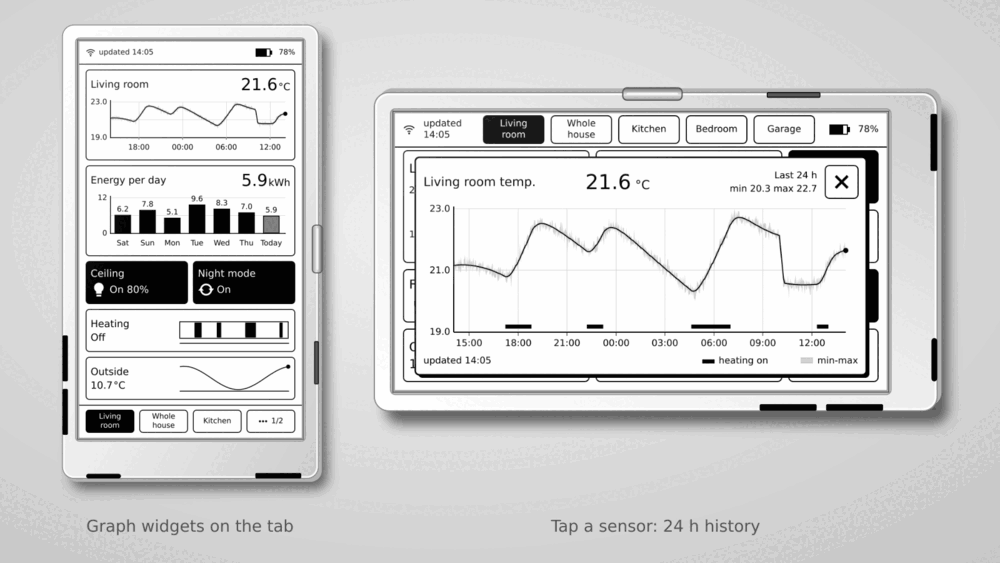
Put a line or bar graph of any sensor straight on the tab, or long-press a sensor for its history. Add display: graph to a sensor in config.yaml:
- entity: sensor.living_room_temperature
  display: graph
  history: 24
- Switches and lights
- Blinds and covers
- Thermostat
- Weather
- Vacuum
- History graphs on the tab and on a long press
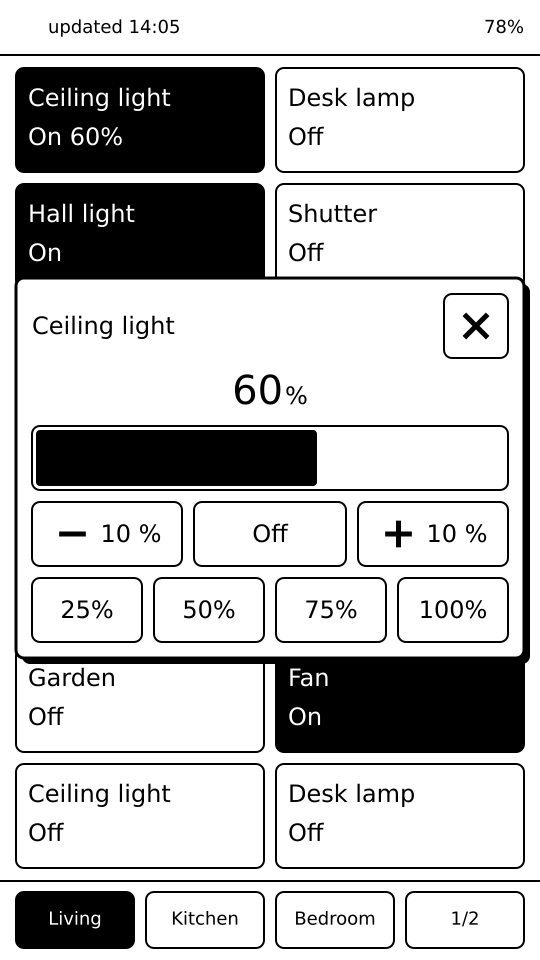
- Brightness control
- Rotate portrait or landscape
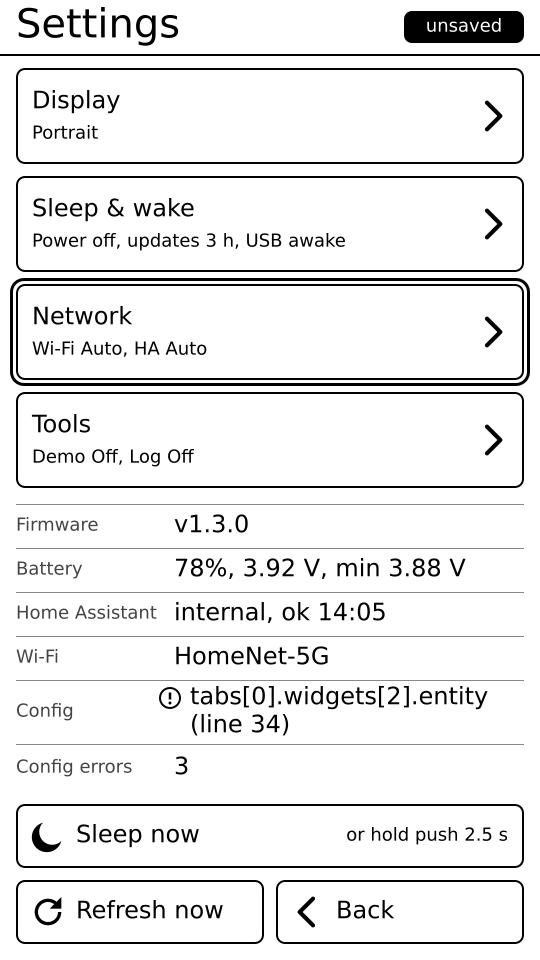
- Settings on the device
- Choose your sleep mode and update interval
- Update the firmware from Settings
- Your own tabs and layout in a text file
- Works on your home network, no cloud needed
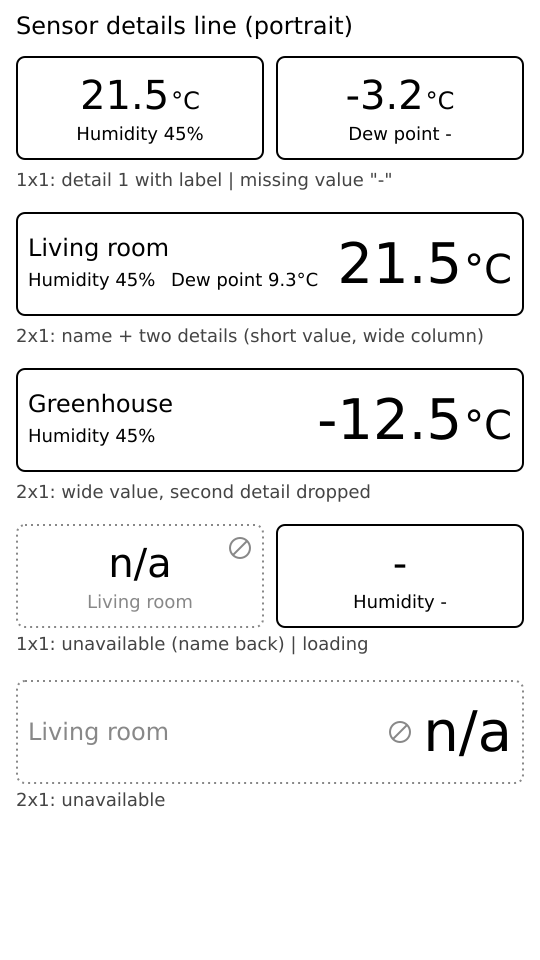
Screenshots
What you need
- An M5Paper
- Home Assistant that your Wi-Fi can reach
- A microSD card
- A USB data cable (not a charge-only cable)
- A Windows, macOS or Linux computer for the one-time install
Install
1. Download the installer for your computer
Version 1.4.0
2. Plug in and press Install
Plug in the M5Paper and press Install. Keep the cable connected until it says done.
3. Nothing else is touched
Your settings and SD card are not touched.
Later updates: Settings > Tools on the device, or run the installer again.
Trouble?
- No device found: use a data cable. On Windows, install the CH9102 USB driver (WCH CH343).
- Port cannot be opened: close serial monitors, Arduino IDE and PlatformIO.
- Windows or macOS shows a warning: the app is not signed. Windows: "More info", then "Run anyway". macOS: right-click the app, "Open".
- No internet on that computer: use "Choose file..." in the installer with a downloaded release.
Set up
Put two small text files on the SD card.
secrets.yaml
Your Wi-Fi name and password, your Home Assistant address and an access token (a password for apps). Keep this file private and never share it.
wifi:
  - name: Home
    ssid: "MyWifi"
    password: "secret"

home_assistant:
  internal_url: http://192.168.1.10:8123
  token: "long-lived-token"
config.yaml
Which tabs and buttons you want.
version: 1
tabs:
  - title: Living room
    widgets:
      - entity: light.living_room_ceiling
      - entity: cover.living_room_shutter
        name: Shutter
      - entity: climate.living_room
Get an access token
- In Home Assistant, open your profile (bottom left).
- Open the Security tab.
- Under "Long-lived access tokens", create a token and copy it into secrets.yaml.
Questions
Does it need the internet?
No. It talks to Home Assistant on your home network. The internet is only used to download the installer and, if you choose, firmware updates.
How long does the battery last?
Days on a charge; longer with Power off. It depends on the sleep mode and how often you touch it. The screen needs no power to keep its picture, and Settings shows a Battery use bar.
Is it safe?
The token stays on your SD card. The device only talks to your Home Assistant.
Can I use it without the cloud?
Yes. Nothing goes through a cloud service.
Which devices work?
The M5Paper only.